Tuesday, July 31, 2012

Decopaged Flower Pot

I made this flower pot as a gift for my sister-in-law. I got on her Facebook, copied & pasted pictures of her kids into a Word document. I changed the pictures to black and white in Word, made their size smaller and printed them on regular printer paper. Using Mod Podge I glued the pictures onto the clay pot and sealed them with a top coat. Using hot glue I tied the ribbon around the top of the pot! Done!!! That easy!!

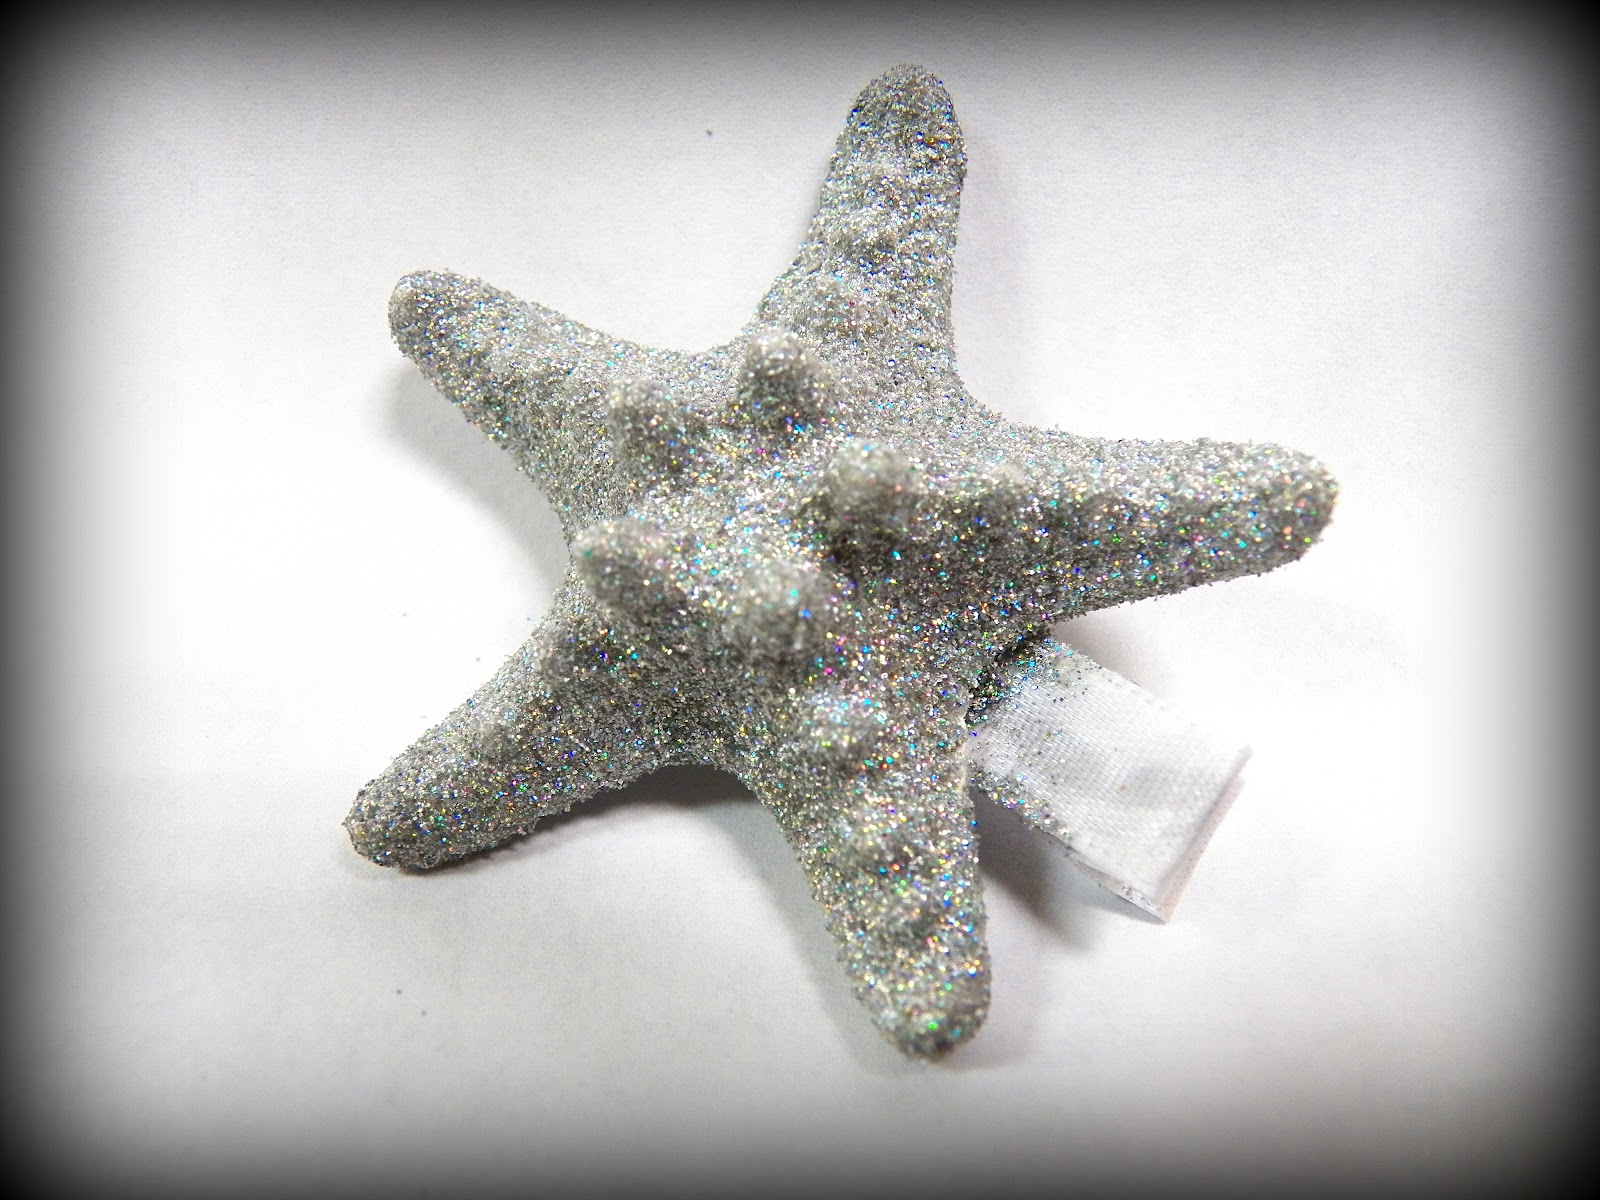
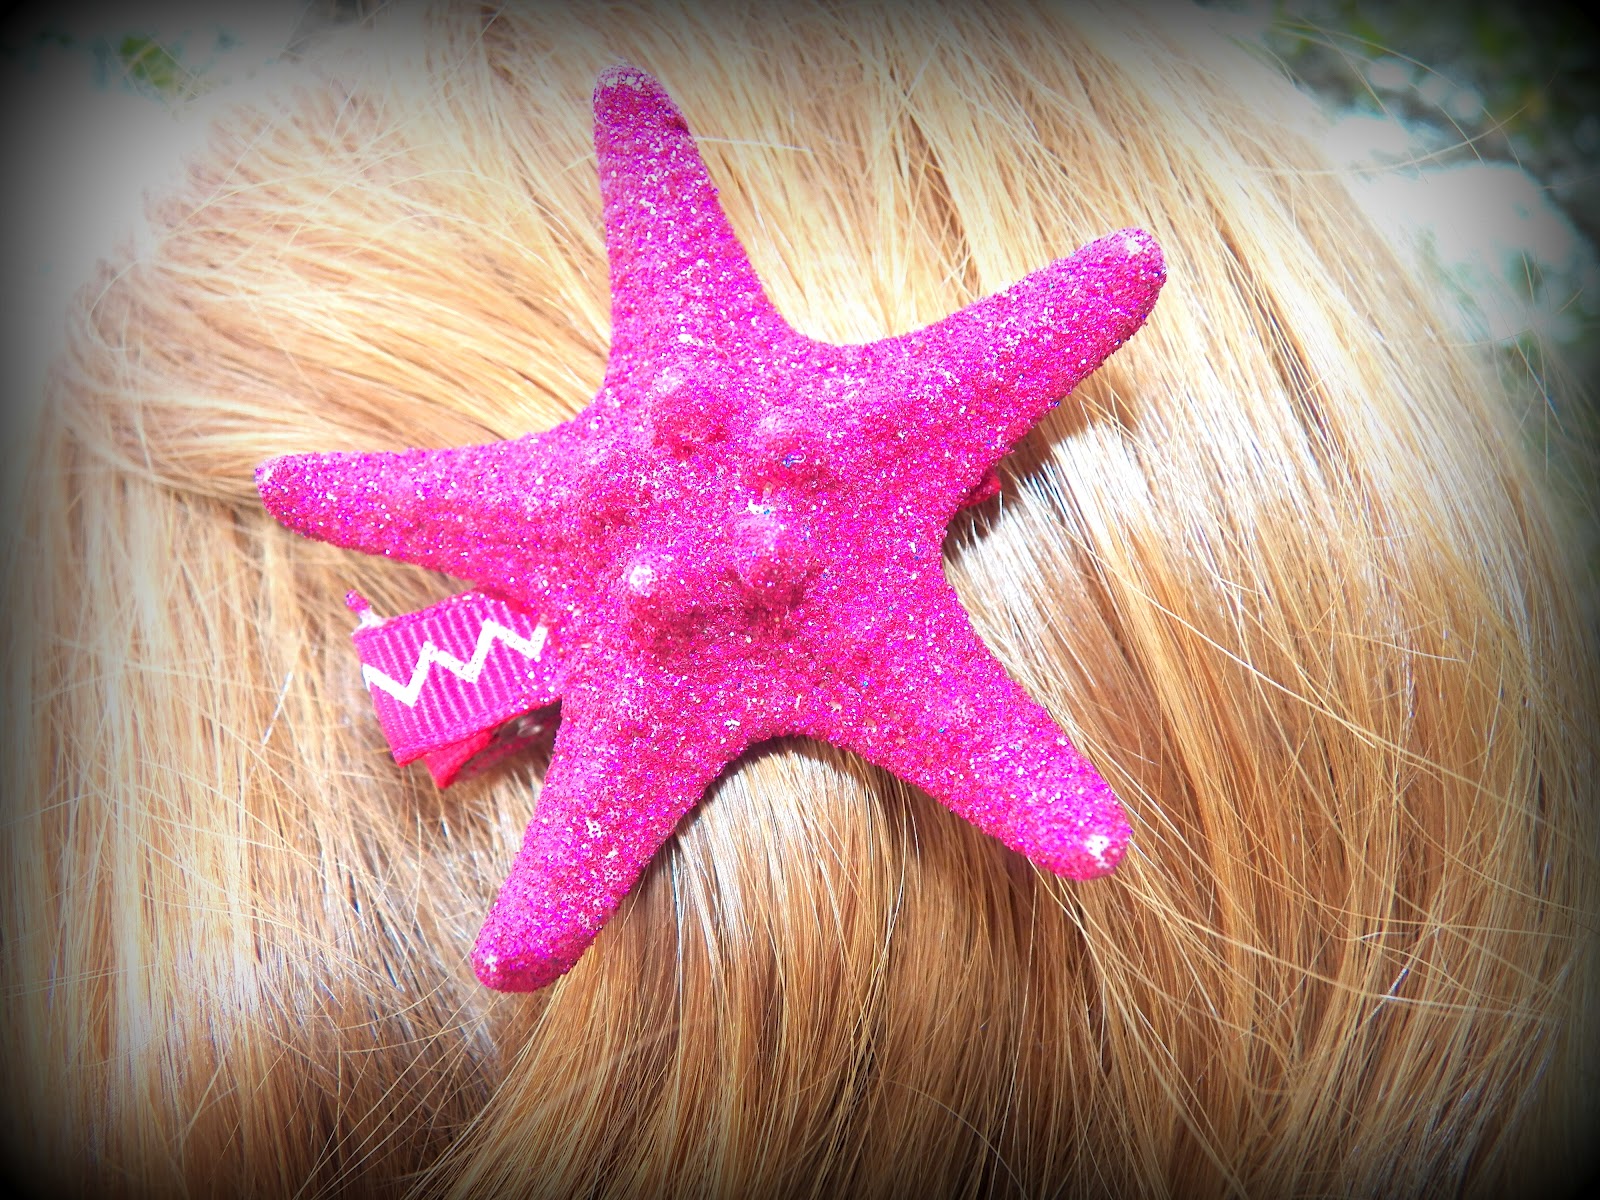
Glitter Starfish Hair Clips

I started making these hair clips after seeing a girl wearing a plain one in her hair at the beach. I thought to myself, how can I make that starfish even cooler!? GLITTER!! It's been a sparkling hair accessory!!!
Made from real knobby starfish, coated with extra fine glitter and sealed to lock in the glitter. They are attached to a metal hair clip. They're just adorable and complete any outfit!
Turquoise glitter
Available for purchase here
Silver/Bling Glitter
Available for purchase here

Light Pink Glitter
Available for purchase here

Green Glitter
Available for purchase here

Yellow Glitter Hair Clip
Available for purchase here

 Light Blue Glitter Hair Clip
Available to purchase here
Gold Glitter Hair Clip
Available for purchase here
White Glitter Hair Clip
Available for purchase here

Pink Glitter Hair Clip
Available for purchase here

Photography by ME!
Model: Nicole Winder

Wednesday, June 27, 2012

Doggie Mini Chipboard Scrapbook

I work at at retirement community as the Activities Director. The last week in July I'm dedicating to the pets our residents have. I am having a scrapbook class where we will be making mini chipboard scrapbooks dedicated to our pets. I tried to keep it pretty basic and keep the cost down so the residents making the scrapbook don't get overwhelmed. Here's how the demo one came out:


Chunky Anchor Bracelet

I've been on a roll experimenting with anchor bracelets. I bought a chain bracelet with memory wire in it. I took ribbon and weaved it through, once I got to the end of the bracelet I went back and weaved it through again so both ends of the ribbon were at the same place.
I used a jump ring to secure the anchor to the bracelet and DONE!

Anchor Cord Bracelets

I made these bracelets using 1mm Waxed Cotton Cording. I bought these two colors from Michael's (they came together). I bought the anchor charms from Fire Mountain Gems (20 charms for $3.57). I learned how to do the knotting here.
Lengths to cut your cording:
  • Two 18 inch long strings (These strings will be the strings that actually wrap around your wrist.
  • Two 24 inch long strings (these are the strings you use to tie the knots that you see going down the length of the cording.
  • One 12 inch piece of cording to tie the slip knot that allows you to slip the bracelet on and off (very last step).
If you follow the step by step directions in the tutorial you will end up with an anchor cording bracelet. The picture below is how I secured the bracelet with a slip knot.


Thursday, April 5, 2012

Starburst Mirror using Clothespins

Wood Clothespins (31)
Mirrors (From Dollar Tree in the candle section)
Glue (Hot Glue and Elmer's)
Picture hanger or ribbon
Optional:  Decorative paper, spray paint

If you want your clothespins to have paper on them cut strips of decorative/patterned paper in centimeter wide strips. I noticed that some clothespins are different lengths so just use the clothespins you bought to determine the length of each paper strip.
After you cut 31 strips of paper and cut them to the length of your clothespins use regular Elmer's Glue to glue your paper to the clothespins. Feel free to use any kind of adhesive, including Mod Podge. Wait for them to dry. Be sure not to use a lot of glue, a thin strip will do.

 I used hot glue to attach all of the clothespins, but for the kids version use Super Tacky glue to attach the clothespins to the mirror so little hands don’t get burned.  Place the glue on each clothespin as show below.  Open and close it a few times so the glue gets on both sides of the clothespin and then attach to the mirror.
Add glue to one clothespin at a time and then attach to the mirror by simply clipping it to the edge. Repeat the process until the entire edge is covered.
If adding a ribbon to hang – open a clothespin and put the center of your length of ribbon right up against the hinge and then close. This clothespin must be hot glued on.

This idea was taken from In My Own Style

Sunday, March 11, 2012

Picture Frame

I used an old frame that was sitting around my house. Using hanging wire (25 gauge) and a staple gun I stapled wire across the frame. 
I used clothes pins to keep the pictures on the wire. I took scrapbook paper, cut it into 1 centimeter strips and glued the paper to the clothes pins. 
TA DAA!! All done!